Ways to use a wet palette

RGG-wet-palette-studio-xl-painting-handle

A wet palette is an invaluable tool for hobbyists progressing their painting using acrylic paints. In this post we aim to explain different ways to use a wet palette including glazes, washes, edge highlights and more, so read on to learn more!

Use the table of contents below to help navigate to any particular technique you might want to explore.

Table of Contents

How to use a wet palette: basecoats and layers

stormcast eternal gold armor guide basecolors
I can get smoother coverage of my basecoats - even thick metallics- using my RGG wet palette; I can also blend different stages.

Once you have primed your mini, the next step is the basecoats. Basecoat paints by their nature can be quite thick, which can be a challenge. Coverage may be inconsistent, or they may ‘pull’ when you try to cover a whole area with your brush. This will leave an unpleasant finish! There also tends to be a lot of basecoating to apply. Especially if you are batch-painting a squad or army! This is where the benefits of a wet palette are two-fold

wet palette base coat

One, the wet palette will keep your basecoats fresh out the pot for longer. Even if you cannot finish using them in one session. Sealed inside, they can be ready days later. 

Secondly, we can mix our basecoats on the wet palette before painting the miniature. 1 drop of water to 3 parts paint will be enough to get a better consistency of base paint. We can also run our brush through the mix on the palette to test it and check for any impurities. Older paints may have dried particles we don’t want to apply to our minis!

When it comes to layering highlights, the benefits are exactly the same. Plus, with the basecolors still usable on our wet palette, we can make better transitions by blending them together!

Ways to Use a Wet Palette: Edge Highlighting

Ultramarine Space Marine guide finishing touches
Space marines have lots of sharp armor edges that benefit from highlights; these are much easier to do with a wet palette to assist you!

Edge highlights can be tricky. A good brush is important, but so is getting the right consistency of paint. Even paints formulated for edging may not offer the consistency right for you. Too thick, and the highlight will be stark and lumpy. Too thin and you won’t have control and it may turn into a wash. A wet palette can definitely help you with this!

As with bases and layers, apply your edge highlighting paint to your wet palette first. Add a touch of water or medium and mix. This is also a good time to check there are no bits or impurities in the mix. And you can ensure you don’t overload your brush. Make sure you have a close and firm grip on the model so there is less shaking. Wherever possible, apply your edge highlights using the side of your brush. Angle your approach to the edge in order to help achieve this. Use gentle, equal pressure and as many unbroken movements as you can to maximise straight and crisp edges.

how to edge highlight miniature

Ways To Use A Wet Palette: Washes And Shades

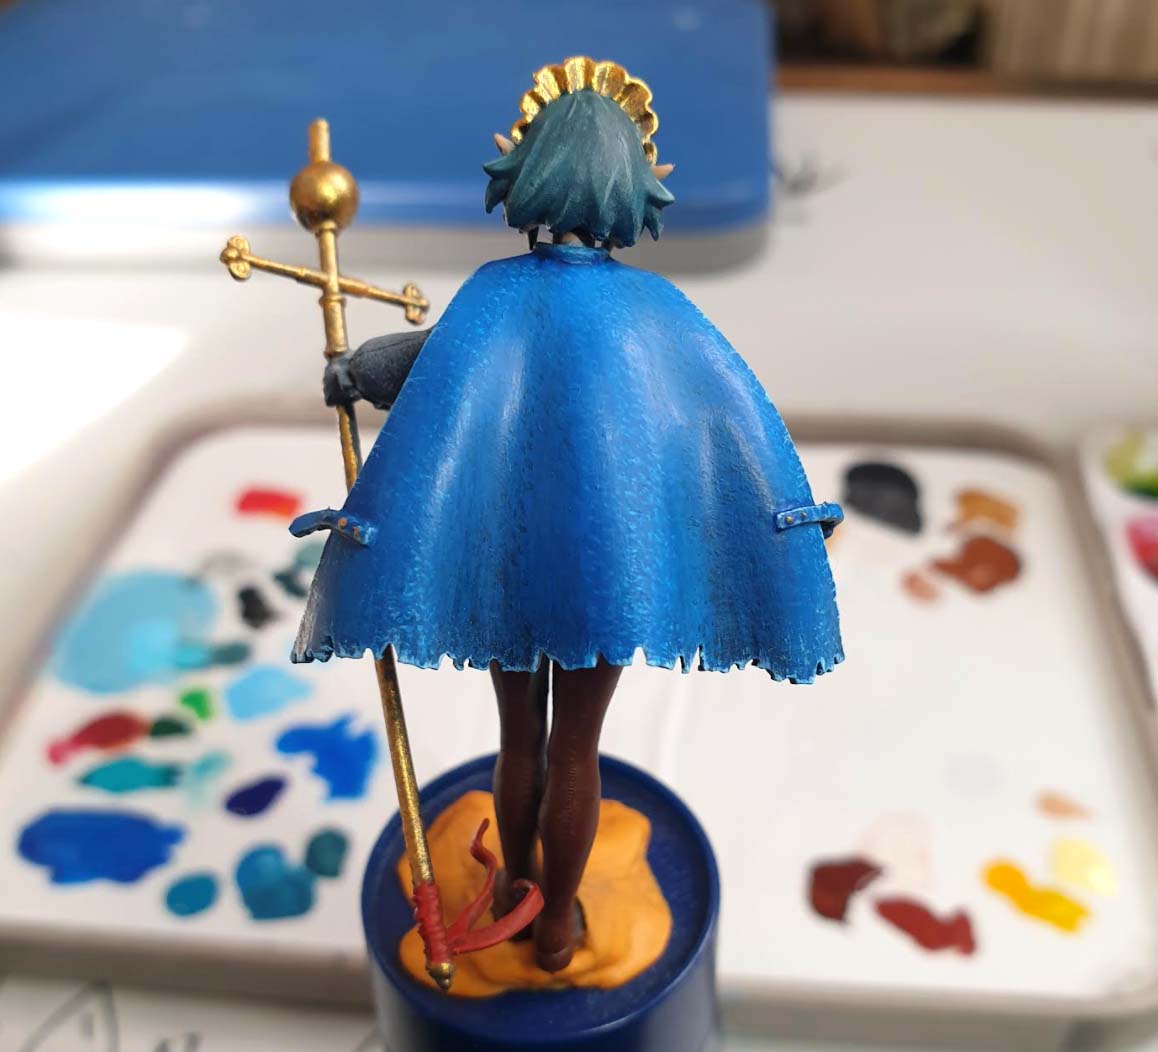
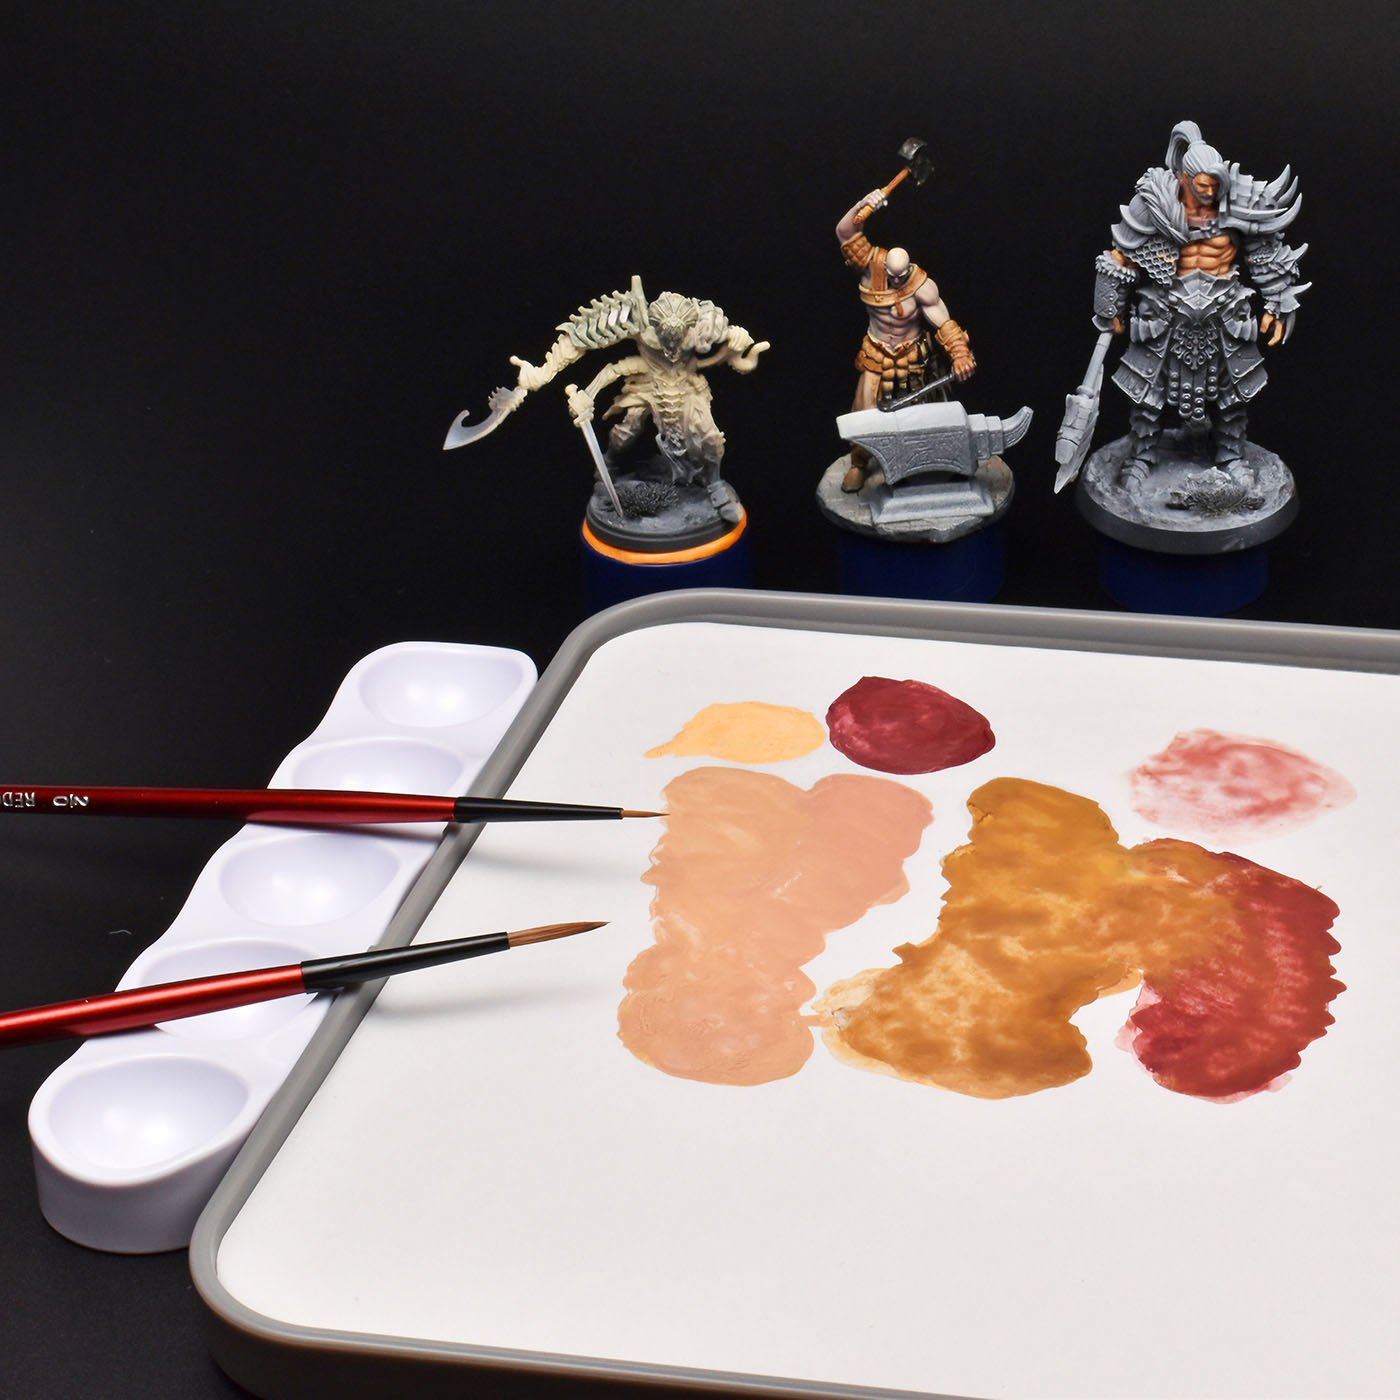
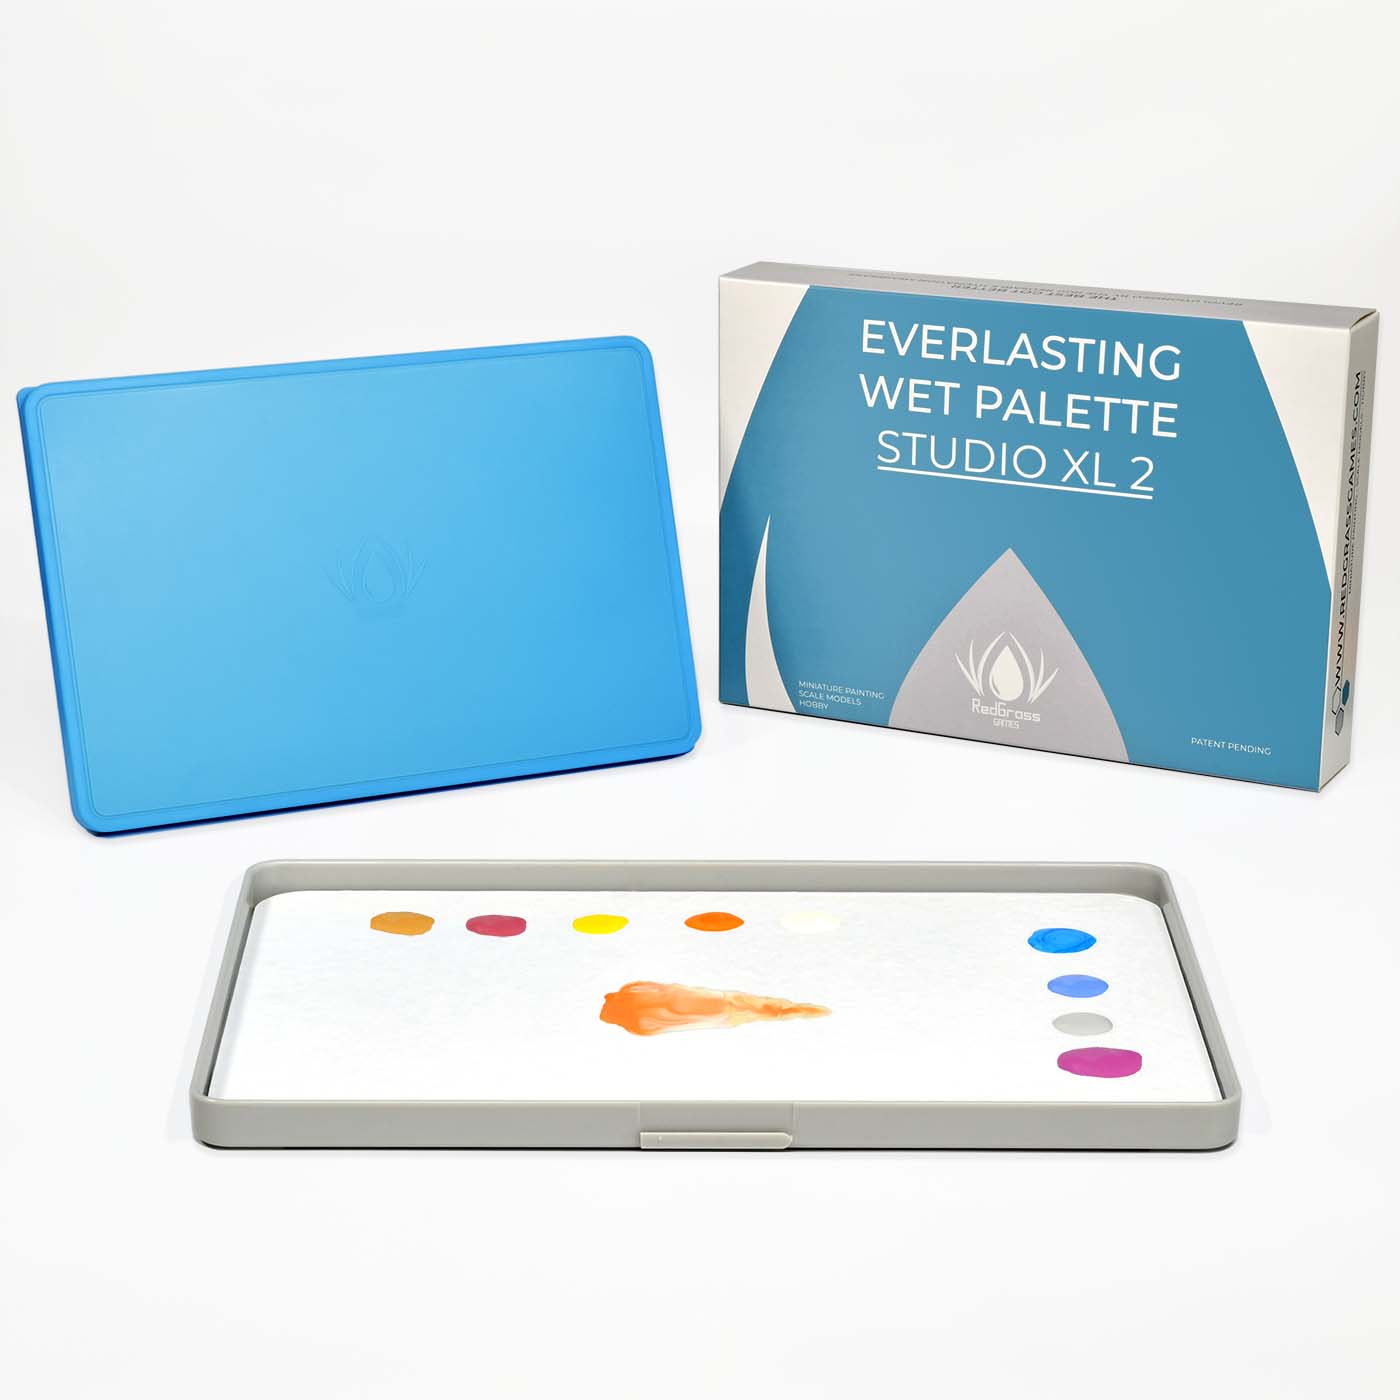
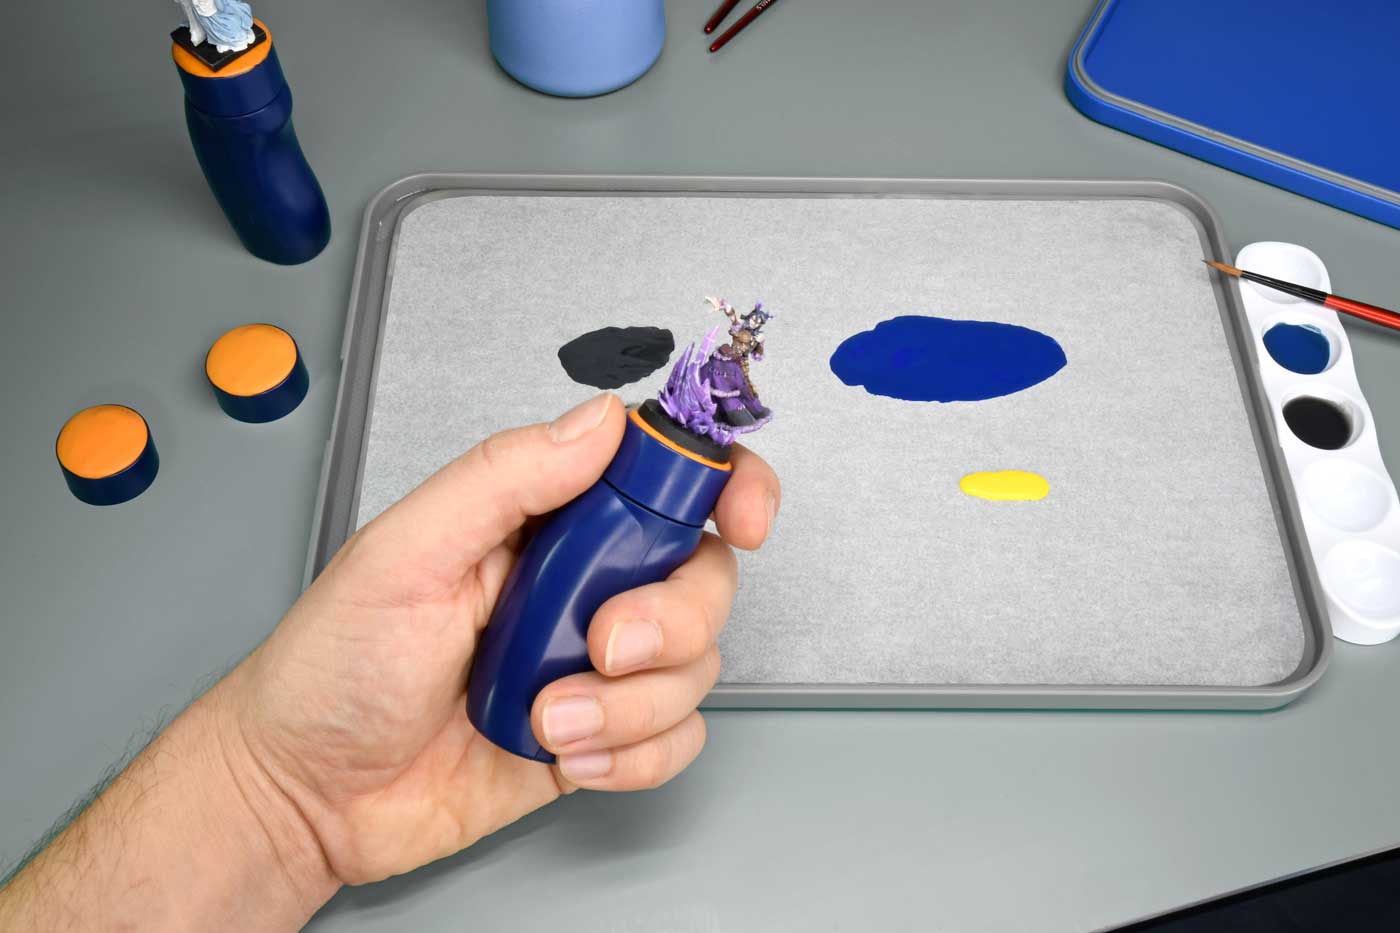
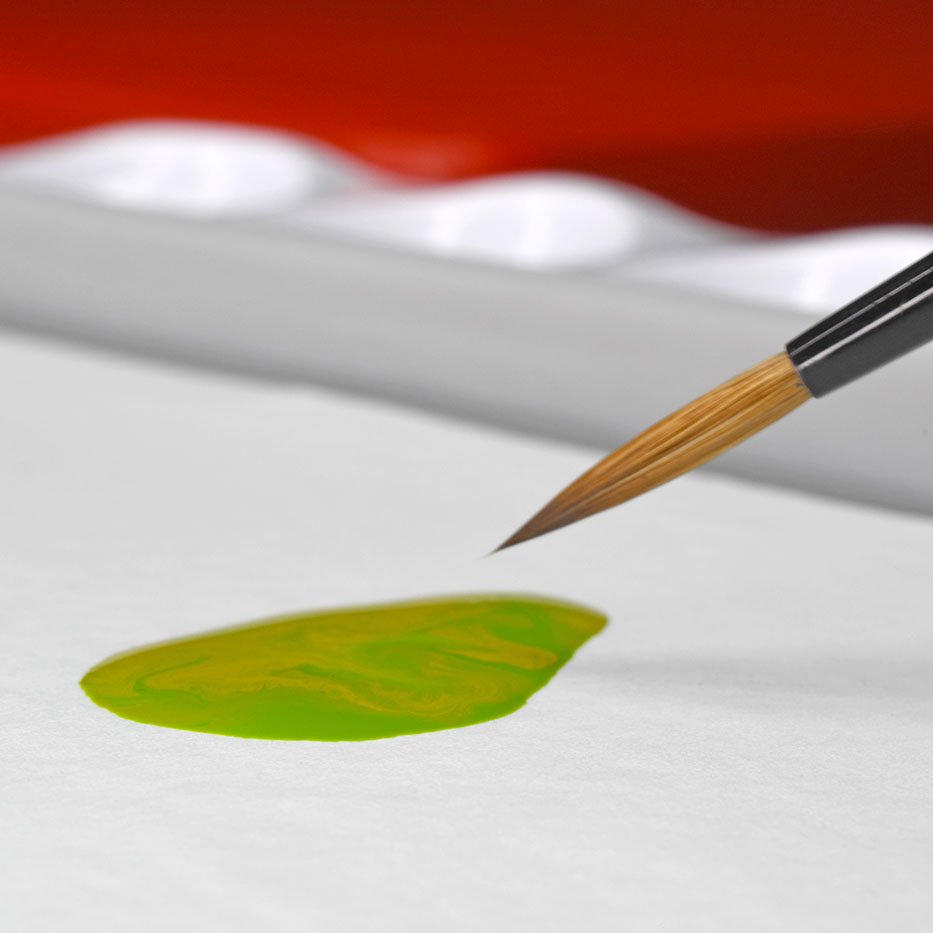
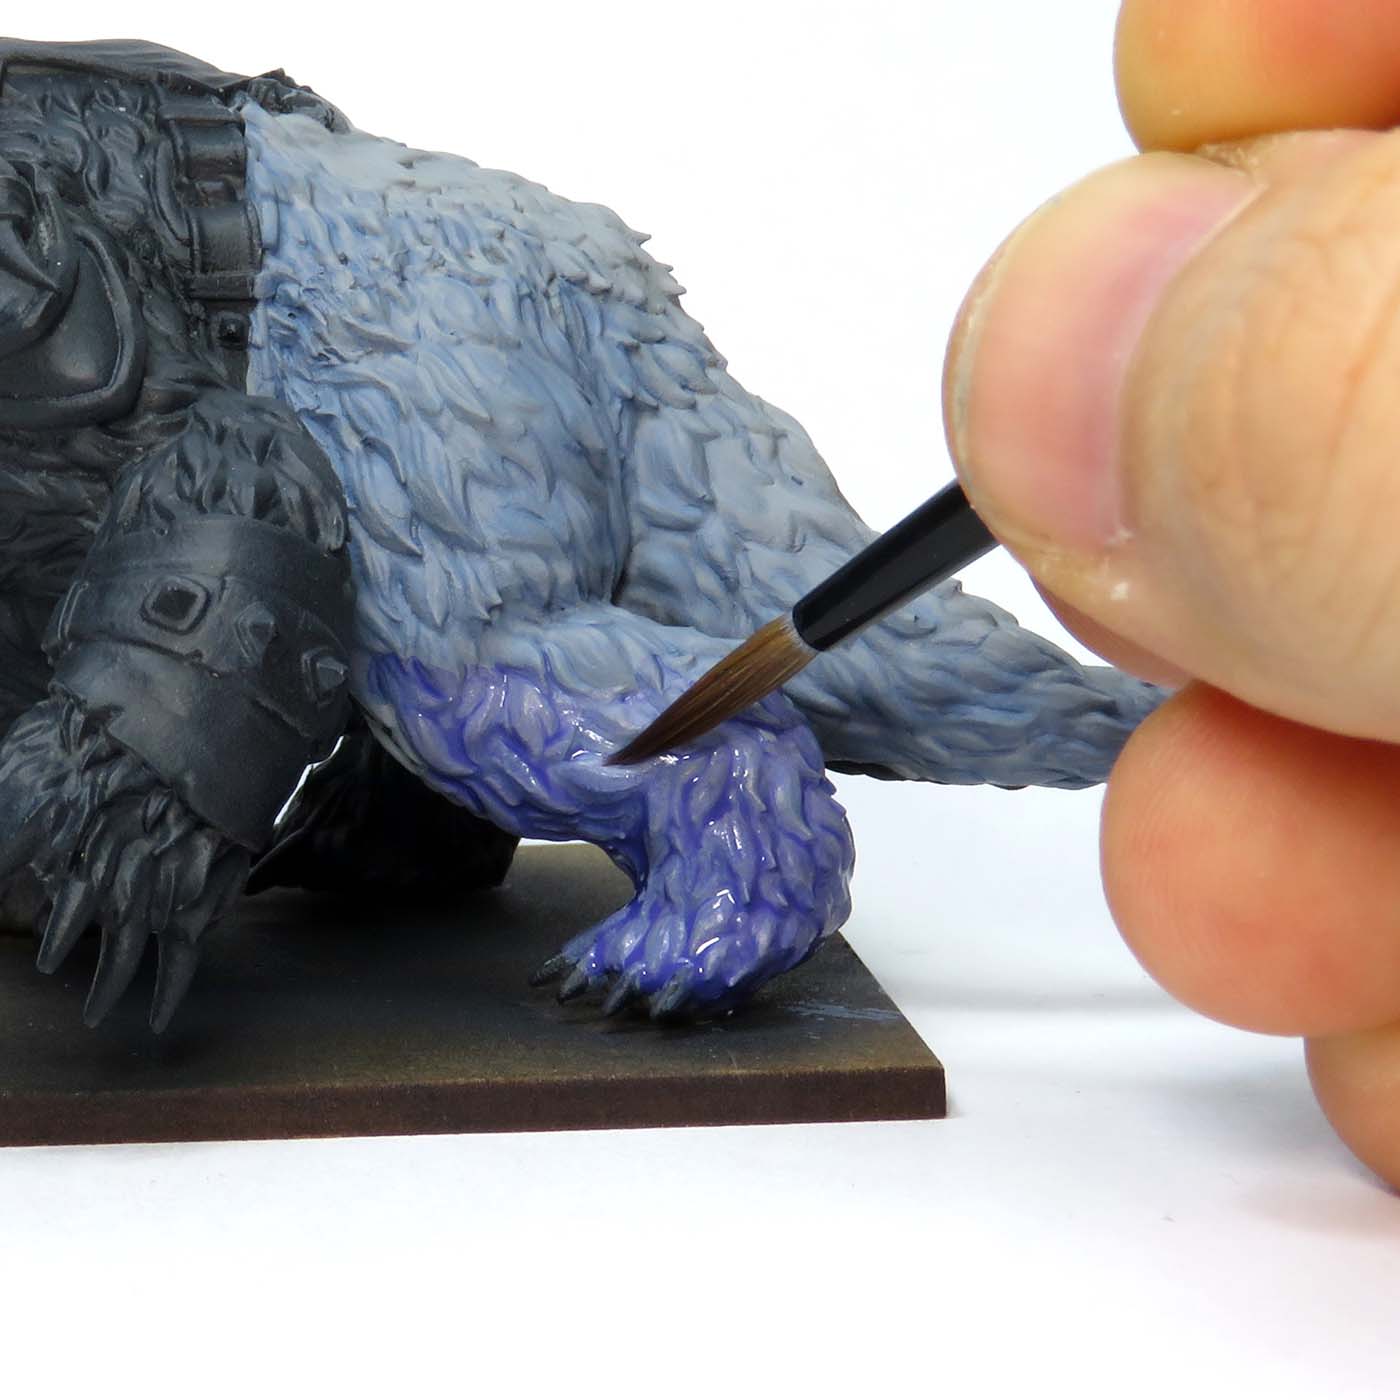
You can make your own recess shades and washes with normal paints, and your trusty wet palette! Shades and washes are a good way to add depth to your minis. Washes especially are a good technique to use for quickly defining details and shadows. Apply a small drop of a dark color to your wet palette. This will be the wash for our midtone. Next, mix in 3 drops of water or medium. A wet palette will ensure you have control and a stable consistency even with watery washes. Check the wash. It should be thin enough that as you stretch it over the palette it looks almost translucent. When you concentrate it, however, it should retain its original dark color. This perfectly replicates what it will do in all the nooks and crannies of our mini!

Ways to use a Wet Palette: Glazing

Old cloaks glazing stage
Glazing can take patience, but it does offer very rewarding transitions and helps unify colors like with the stippling here.

In miniature painting, glazing is the process of adding several thin, transparent layers of paint. These help smooth transitions between darker and lighter paints. They can also build luminosity. For instance you might glaze a yellow over orange or red paints. Glazing takes a lot of time and patience to get right, especially with acrylic paints. Acrylics are generally fast to use for hobbyists, and glazing is not!

Glazing with acrylic paints would also be nigh-on impossible to achieve without the use of a wet palette. You need thinned paints that remain stable enough for a long period of time. The moisture control of a wet palette affords you that time. Thin your paint to almost a wash consistency, using water or medium. When you first apply your glazes, it may appear as if nothing has changed, but persevere! As you wait for one glaze layer to dry completely (and there may be several!), the wet palette will keep your remaining glaze mix fresh for the subsequent layers. With the cloak, for instance, I stippled bright colors and unified it altogether with 5-6 layers of blue glaze. This gave me a good ‘woven’ texture and highlights, but smooth transitions.

Ways to Use a Wet Palette: Wet Blending

what is a wet palette?

Another technique that is much easier to achieve when you use a wet palette is wet blending. Like glazing, it is much harder to attempt without a good wet palette. Wet blending is another process to get smoother transitions between colors. Just as the name suggests, you blend the two colors together before they dry. However, you typically do this on the model! This requires your bravery. Speed is also essential, but a wet palette can afford you more time.

Mix your colors onto the palette surface, and add something like a retarding medium. Combined, these will slow the acrylic drying time on the miniature, which is otherwise almost instant. With a wet palette you can go between the two colors more easily, and create a 50/50 mix. This can then be used in the transition zone on the model if you are having difficulty getting the blends smooth.

Using Other Functions

wavy accessories brush holder

Aside from common ways to use a wet palette, the accompanying accessories which you can use with the Redgrass wet palettes open up other methods of painting even more!

If you are unsure about using the main palette for things like washes and metallics, fear not! You can always use the wavy accessory. For inks, washes, or glazes the wells of the wavy are ideal to stop them running. It also makes mixing in water or mediums easier. For metallics, the wells of the wavy can prevent cross-contamination. A little known fact is that it is also designed to be a handy brush rest!

Perhaps you are looking for a dry palette? Depending on the technique you are trying it may be more appropriate. For instance, with drybrushing. Simply use the inside lid of your Redgrass Everlasting Wet Palette! You can apply the paint straight to the plastic or using hydration sheet to keep the lid clean. You can even insert one of our Redgrass Glass Palettes for your dry palette needs.

Video Tutorial

Still unsure how to get the best out of your wet palette? Pro-painter Oscar Lars shows you how to in this video. So watch and learn!

Check out the Redgrass Everlasting Wet Palette Series for yourself!

You are currently looking at the website for Switzerland