How to assemble a miniature: Quick tips
How to assemble a miniature: Quick tips
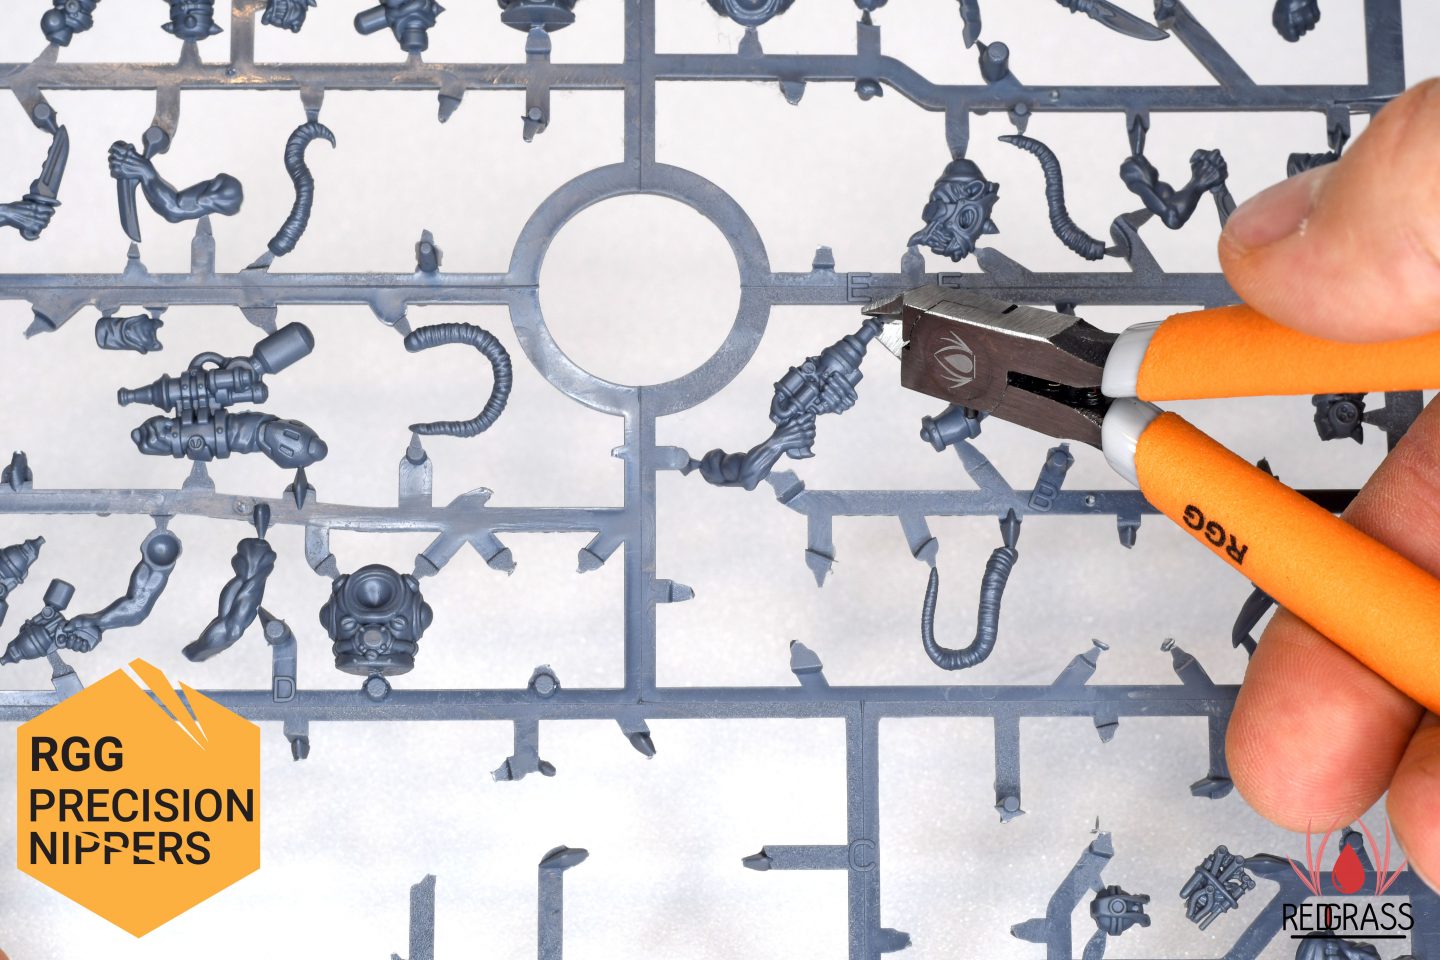
How to assemble a miniature: Quick tips – So you’ve taken the plunge and bought some model kits. Welcome to the club! We hope you are very happy here and have many years enjoying this hobby. But, before you can apply paint to your models, you need to assemble them! Cutting them out of the sprue is the first obstacle, but good nippers certainly helps.
Table of Contents
How to assemble a miniature: Clippers, tools
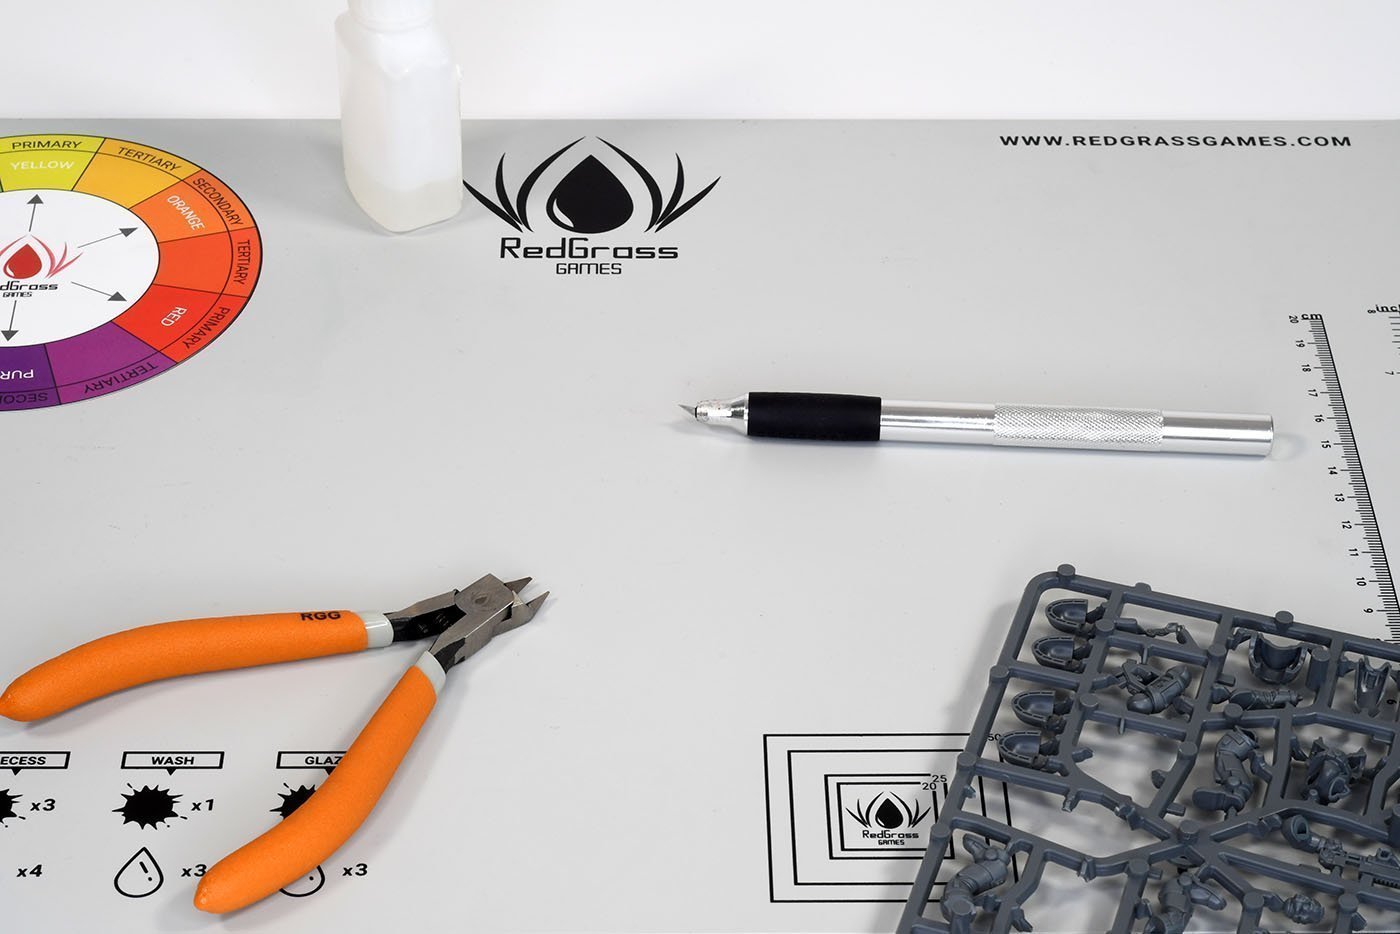
Assembling miniature is not difficult but requires purpose-made tools. Remember that every imperfections will be visible during the painting stage. So pay attention to details during the assembly phase to get a good looking painted miniature later!
So what do you need? A cutting mat to protect your desk, a good pair of clippers or even better some precision nippers, a hobby knife or a mould-line remover tool. Super-glue or cement depending on the kind of miniature you are assembling.
Resin or Plastic models?
The first thing to do, is figure out if it is a plastic or resin miniature you’re making. Most standard warhammer kits or airfix kits are plastic, for instance. Some large scale or bespoke models may be resin- the texure and finish of unpainted resin will feel different to plastic. It also tends to be heavier!
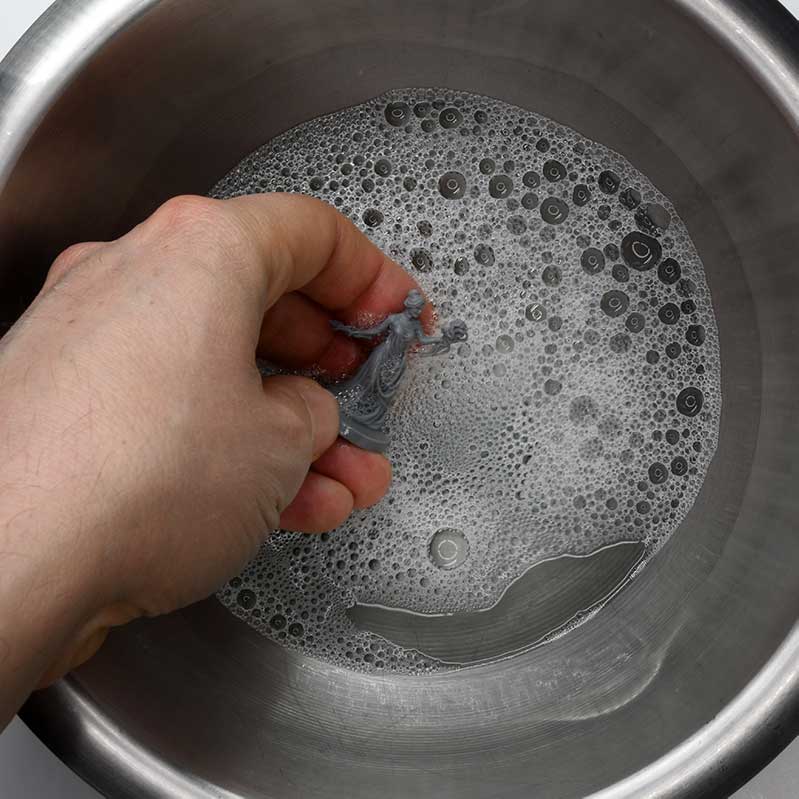
If you’re assembling a resin or finecast mini, give the parts a wash. During the casting process, your sprues are coated in a chemical to ensure they can be removed from their moulds. However, it will also stop any paint from adhering to your mini. But this can be removed easily. Simply wash your components with some warm, soapy water and gently scrub them with a soft, old toothbrush. Let these dry naturally or pat dry with a paper towel.
Cutting parts off the sprue
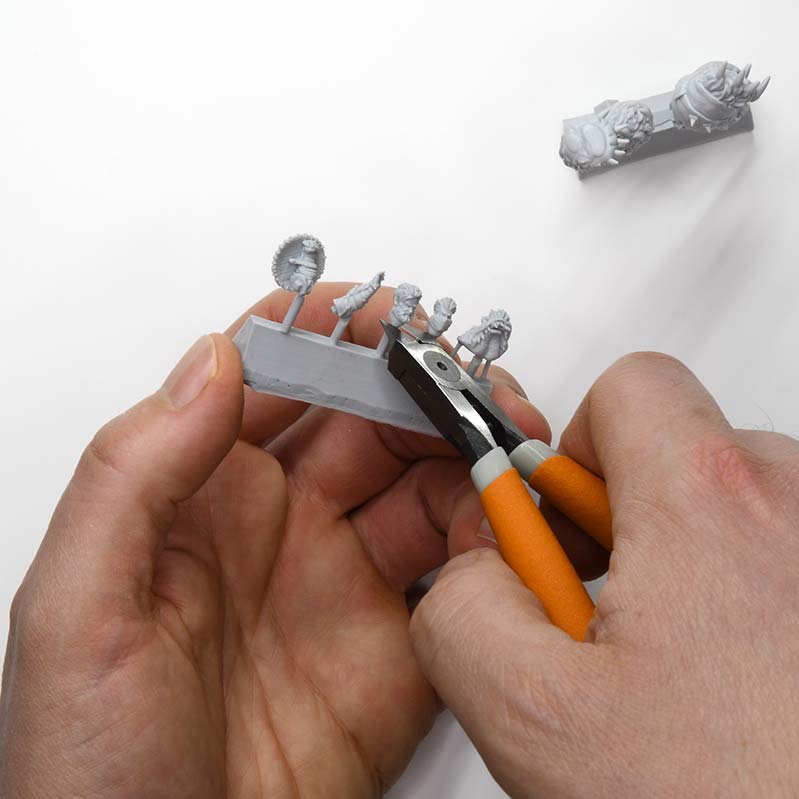
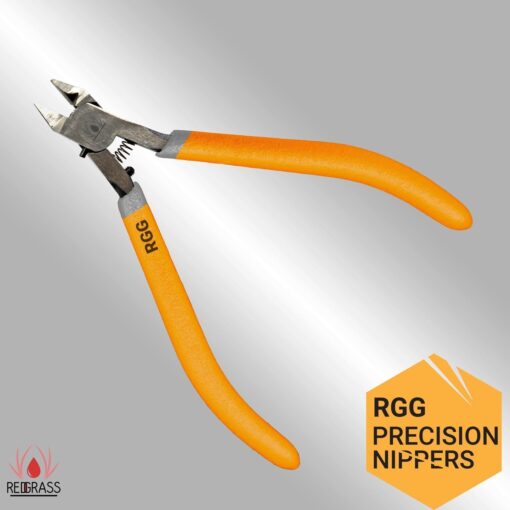
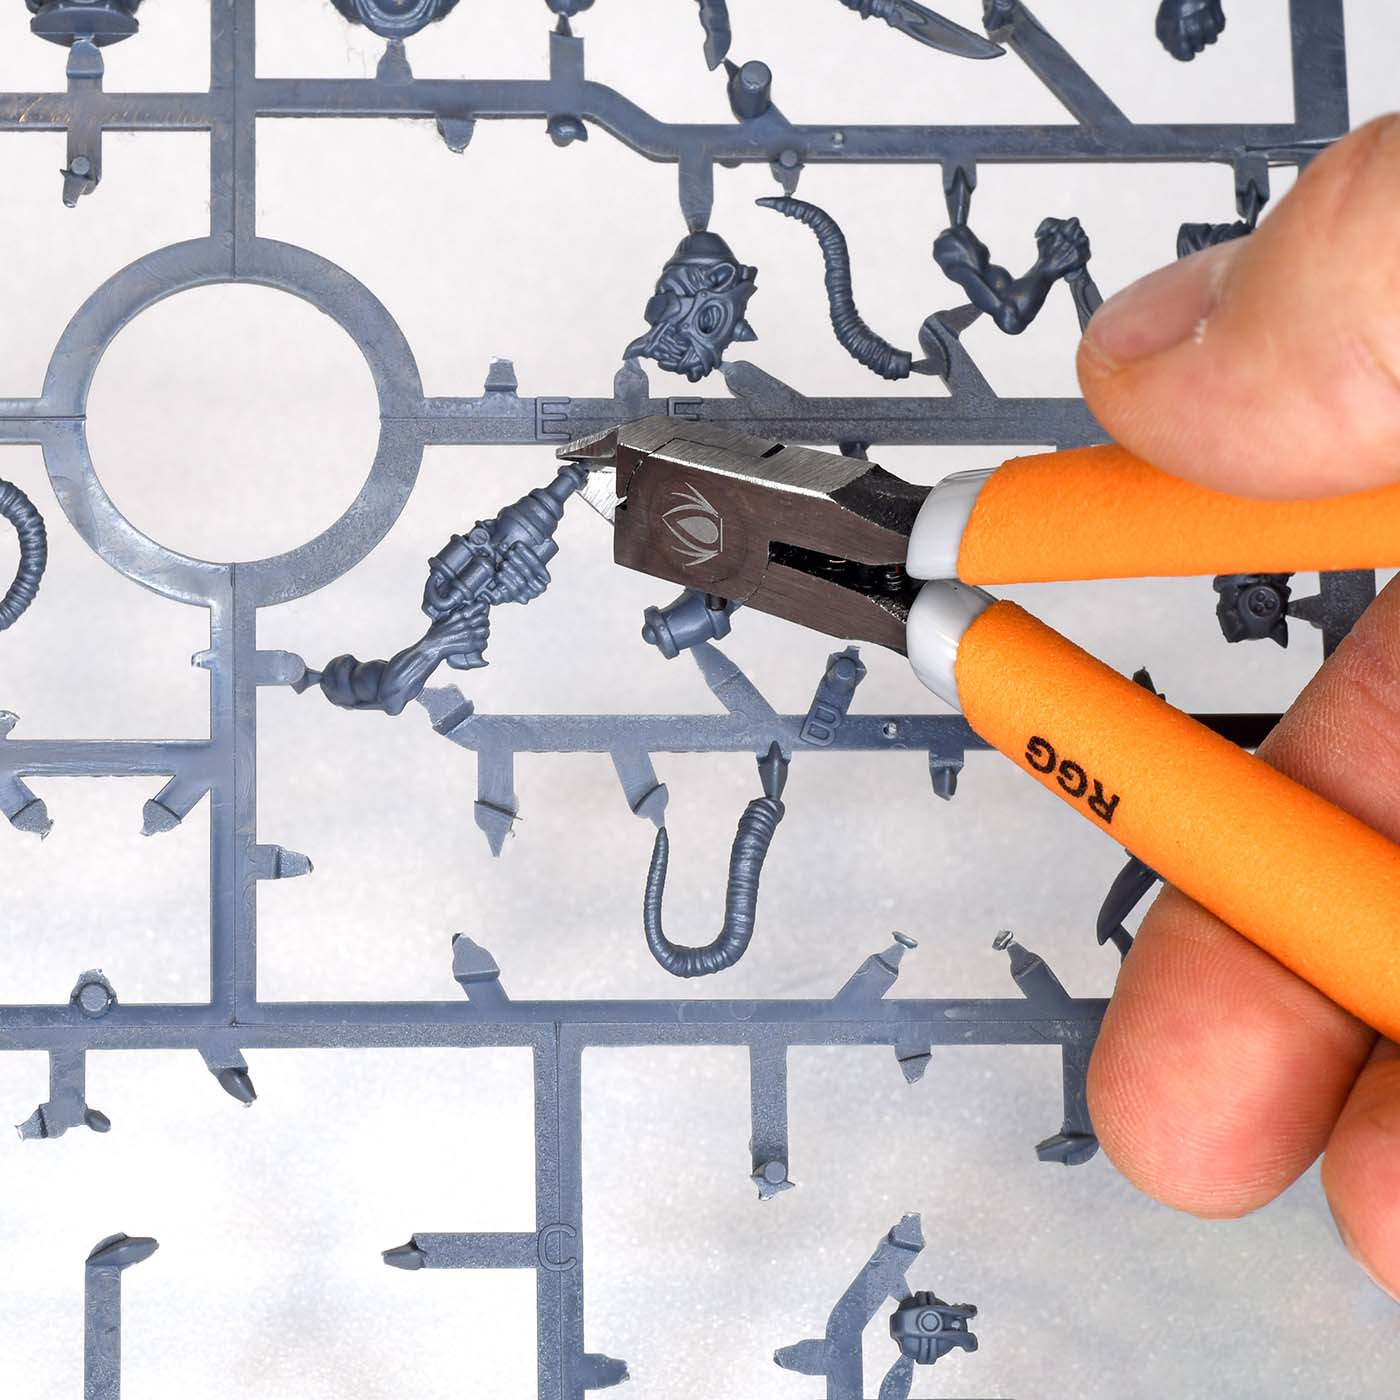
It may seem obvious, especially if you have made model kits before, but there is in fact a 'right' way and a 'wrong' way to cut parts off your sprues. The RGG Precision Nippers were chosen to help make that easier, though! When removing parts off the sprue, cut the smallest parts of the component from the sprue first. This puts less pressure on parts more liable to break. The sharp tip on Redgrassgames’ Precision Nippers ensures that you are able to get in as close as possible for the cleanest and most accurate cut.
How to assemble a miniature: Mould Lines

This can be an issue of personal preference, especially with modern kits that are better at hiding them. But mould lines can ruin the overall paintjob of a mini by making it look… well, like a plastic kit! To help improve the overall effect and immersion, it is often a good idea to ‘tidy up’ these mould lines and any sprue gates left behind from the assembly.
Gently rub the lines away with a fine file, a knife, or a purpose-made mould-line remover tool. Some can even be removed with your RGG Precision Nippers! Dents or gaps can be filled in and filed smooth with 2-part epoxy, plastic putty, or ‘sprue glue’, which will then provide a good surface for painting without any unseemly joins. Pete The Wargamer is very good at showing this process in his videos, such as the one we’ve embedded below!
How to assemble a miniature: Gluing
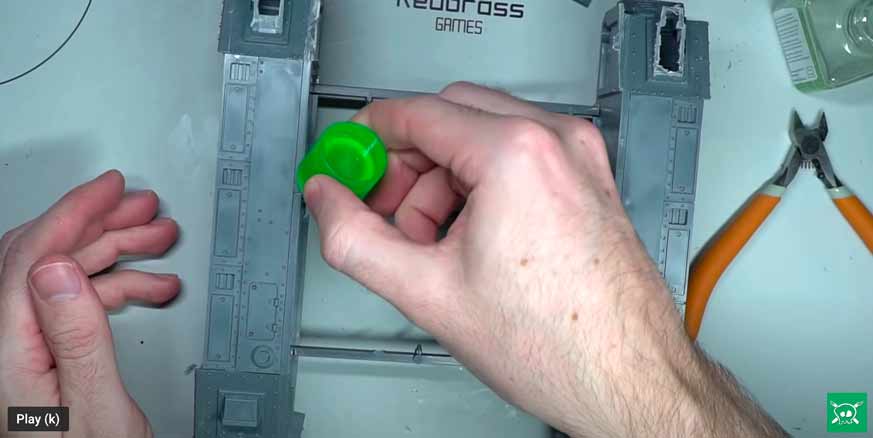
Resin models need to be glued with superglue, whereas plastic kits can be done with either superglue or plastic cement. If you do lots of scraping and filing, it may be a good idea to wear a face mask too, as some resin dusts can be harmful to inhale in quantities.
For a plastic kit, using plastic cement is advised. It is not really a ‘glue’, but it softens and melts the contact surface of the plastic model. When joined to another piece of plastic model, they will seamlessly fuse together to make one part. Apply your plastic cement per the instructions and join the pieces together. For large or heavy pieces you may need to glue both sides of the model you are joining, and hold them together for about a minute. If you are worried about having a join line left behind, really push the two parts together firmly, then file away any excess pushed out by the join once dry.
For resin or metal kits, use a strong superglue and apply as per the kit instructions. When Pete The Wargamer is using both resin and plastic kits together for one kitbash, you can see him use superglue.
Priming
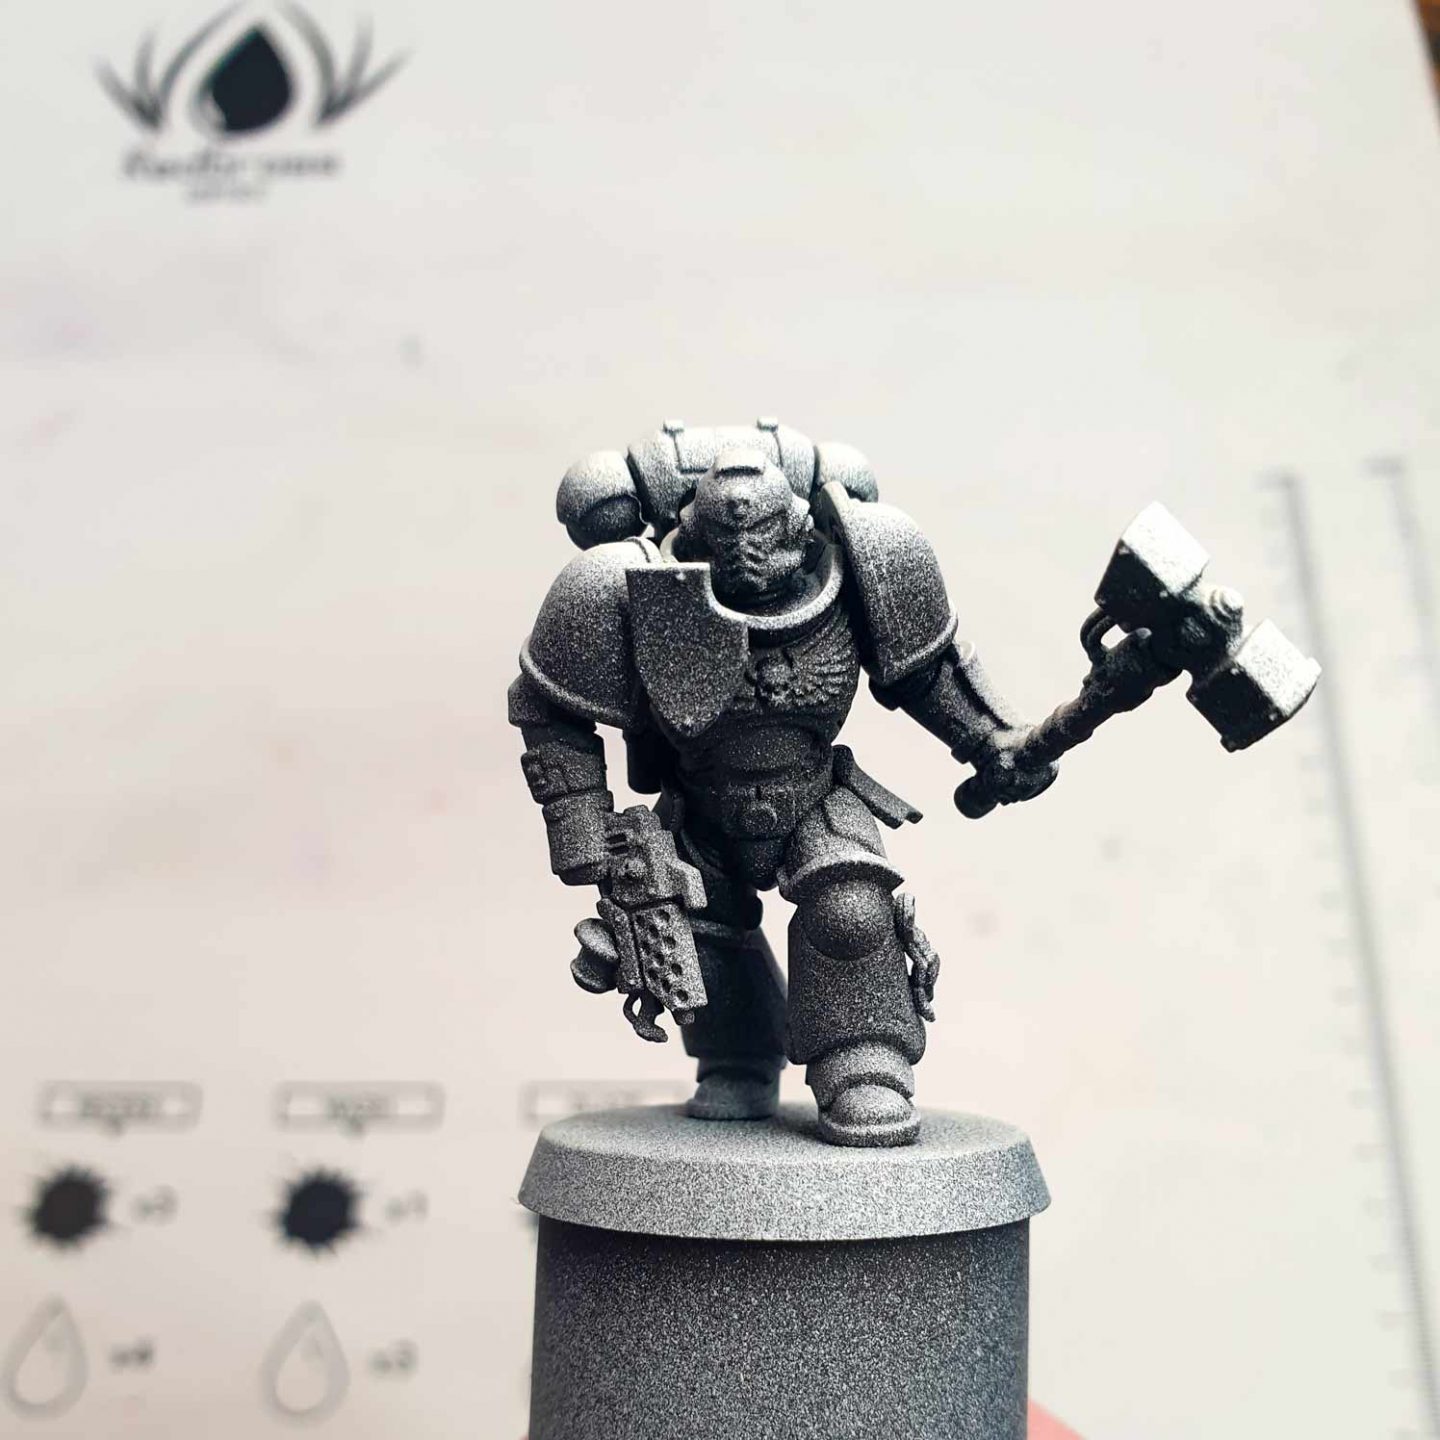
Finally, you’ll need to prime your assembled miniature. Paint your miniature in every direction using a specially- formulated priming paint. This provides a surface that all your other paints will stick to, as acrylics will otherwise not adhere well to bare plastic, metal, or resin models. Usually, you can speed up this stage by using a spray can primer, with black, gray, or white being the most common priming colors. However, there are many! You can also use an airbrush for this stage if you have one, again using a priming paint formulated for airbrush use. You can of course use a brush to apply your primer, in which case go for a brush with a good tip and large belly, like the Redgrassgames Size 2.
How to assemble a miniature: Quick tips video tutorial
Still unsure how to get the best from assembly? Watch the full video from Pro-painter Pete Harrison at his YouTube Channel! Watch and learn from the best!
Redgrass Games Tools
Precision Nippers, RGG360 Miniature Holder, v2 Painter wet palette...

