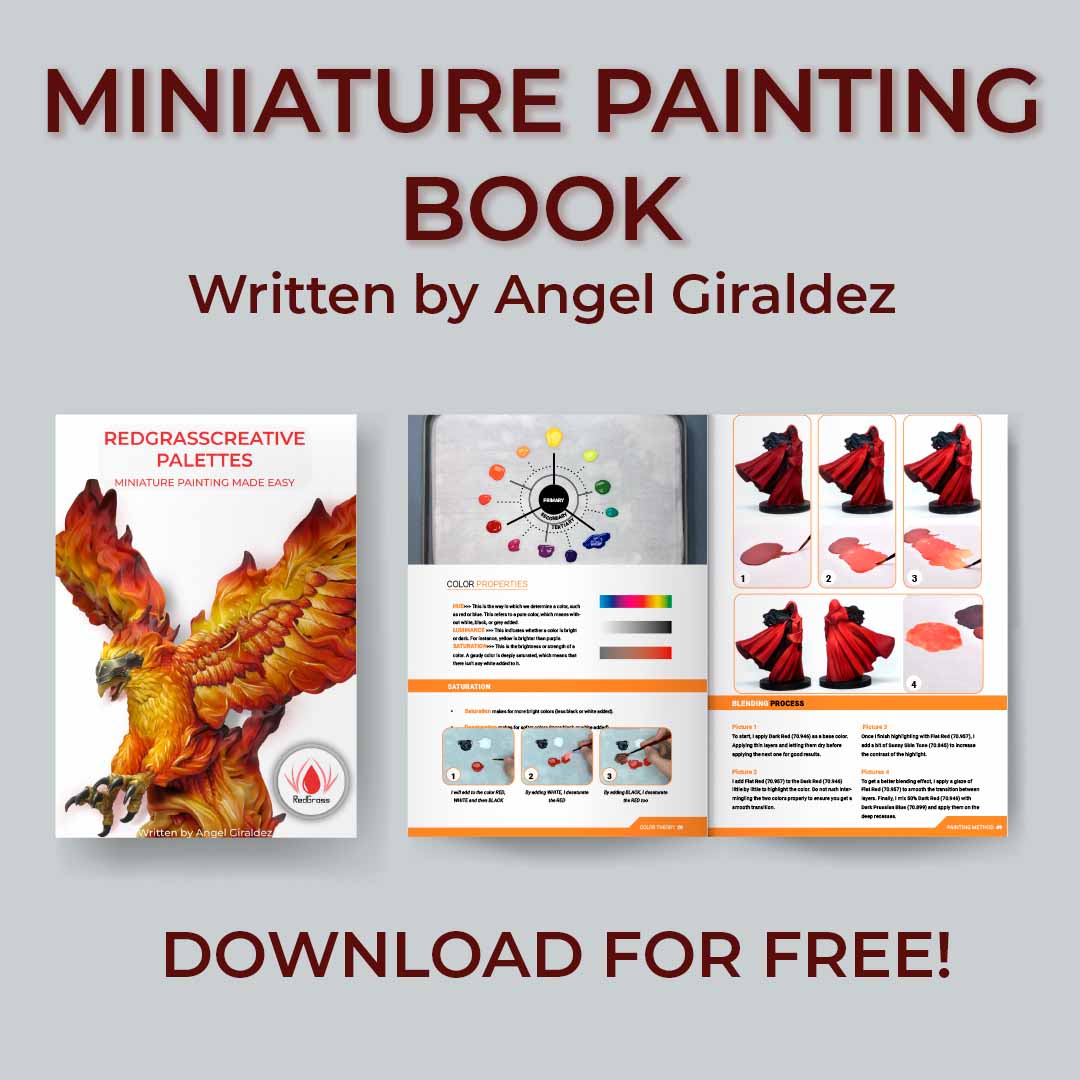
For anyone who has ever held a paintbrush in their hands and marveled at the world of miniature painting, we have exciting news! We’re delighted to announce the release of ” Miniature Painting Made Easy V2″ – a remarkable, exclusive book written by none other than world-class miniature painter, Angel Giraldez. And what’s more? It’s completely FREE!
Angel Giraldez, a titan in the world of miniature painting, has teamed up with Redgrasscreative, a leading provider of high-quality painting supplies, desk lamps and resources, to bring this enlightening guide to the art of miniature painting. Known for his detailed, vibrant miniatures and unique painting style, Giraldez’s book promises to be an invaluable resource for painters of all levels.
The book covers a wide array of topics: from the basics of paint selection and brush handling to the art of shading, highlighting, and achieving realistic textures. With step-by-step instructions and enlightening illustrations, Giraldez demystifies the complex process of miniature painting, making it approachable and enjoyable for everyone.
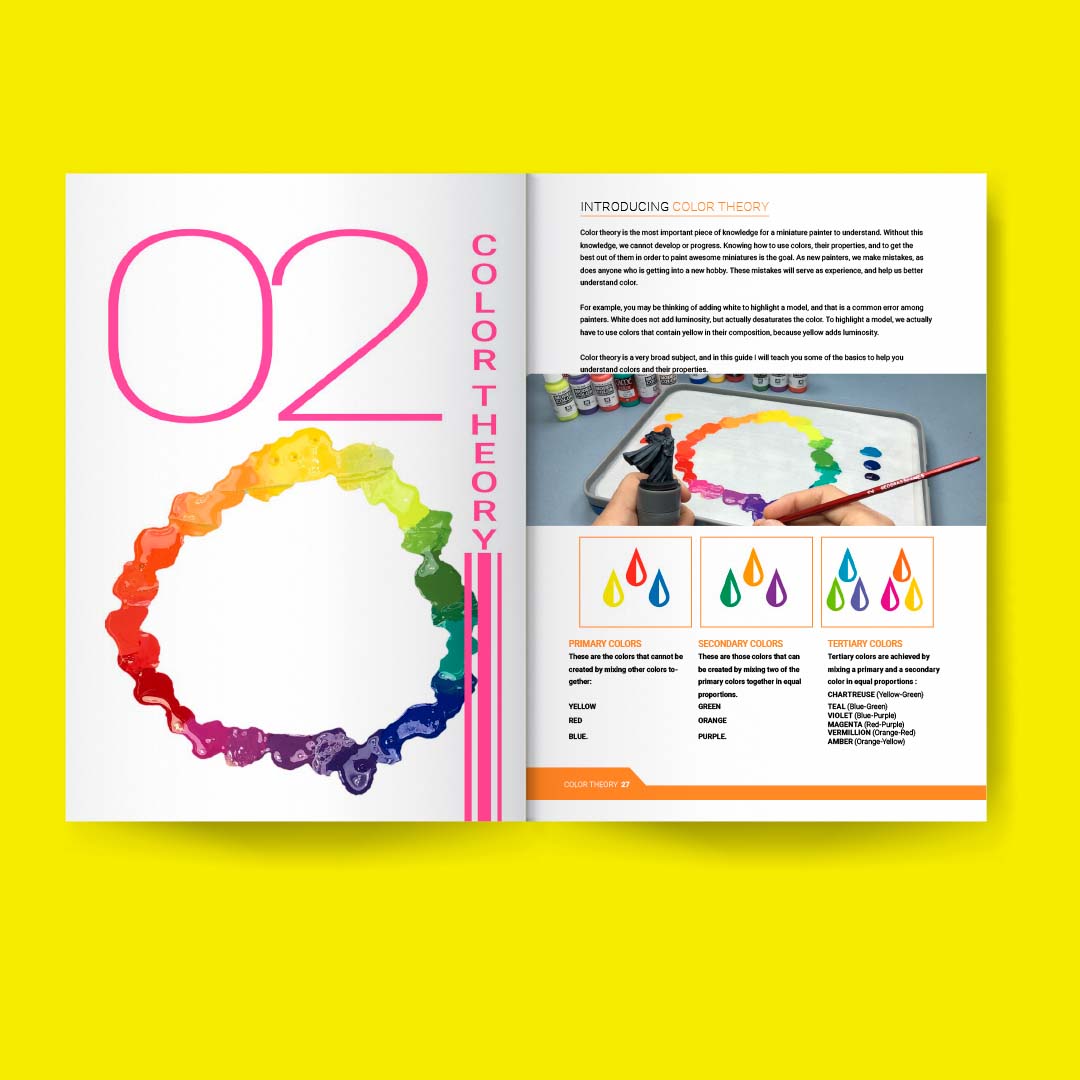
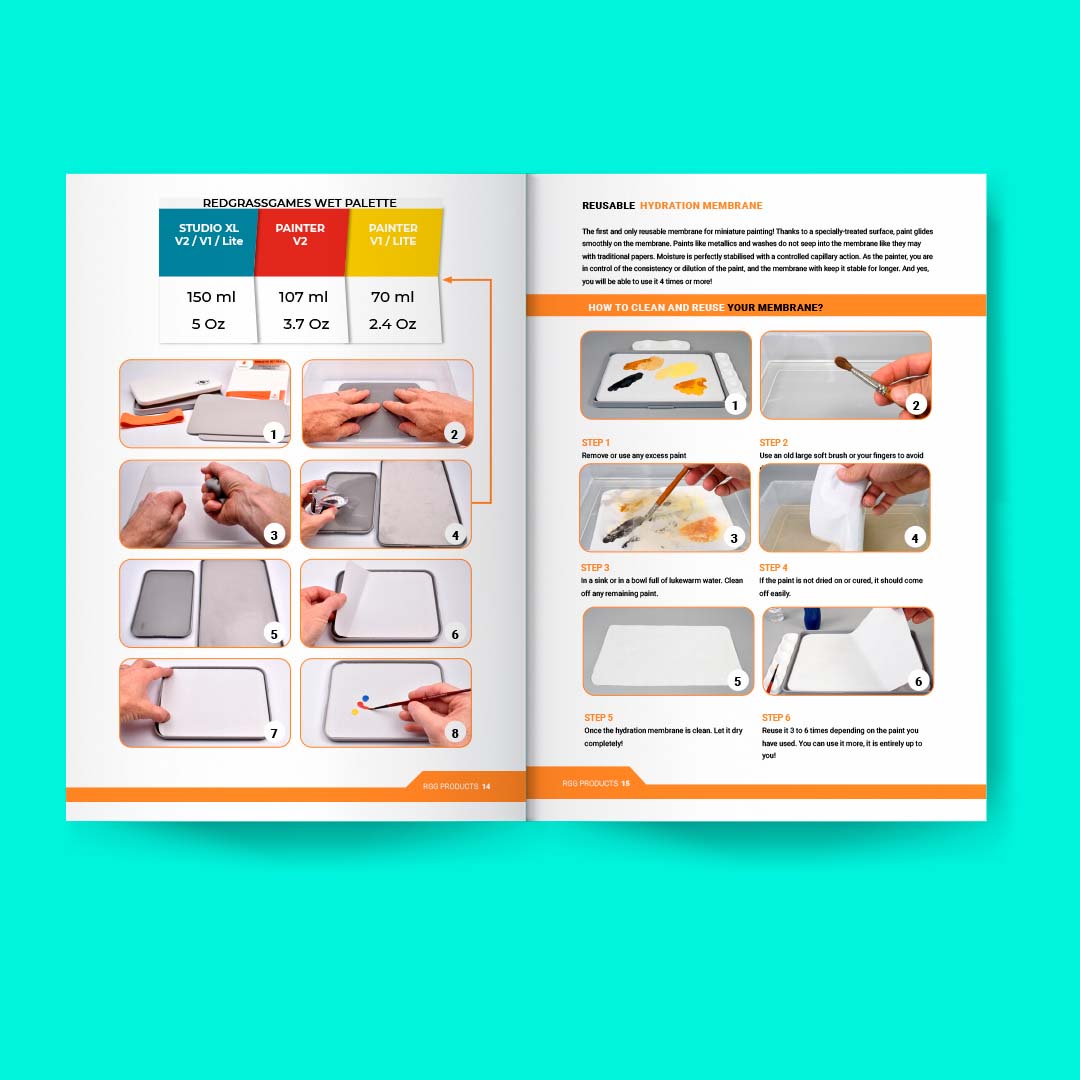
But there’s more to this book than just technique. Giraldez delves into the world of color theory, showing readers how to choose and combine colors for stunning effects. The book also offers tips on maintaining your painting tools and materials, making “Redgrasscreative Palettes: Miniature Painting Made Easy” a comprehensive guide for all your painting needs.
In offering this book for free, both Angel Giraldez and Redgrasscreative are showing their commitment to the miniature painting community, making expert knowledge accessible to all. This opportunity is a must-grab for anyone interested in refining their miniature painting skills, from beginners picking up their first brush, to seasoned painters seeking to elevate their craft.
“Redgrasscreative Palettes: Miniature Painting Made Easy” by Angel Giraldez is your ticket to a world of miniature painting mastery. Don’t miss this chance to learn from the best and take your painting to new heights. Download your free copy today and let your miniature painting journey begin!